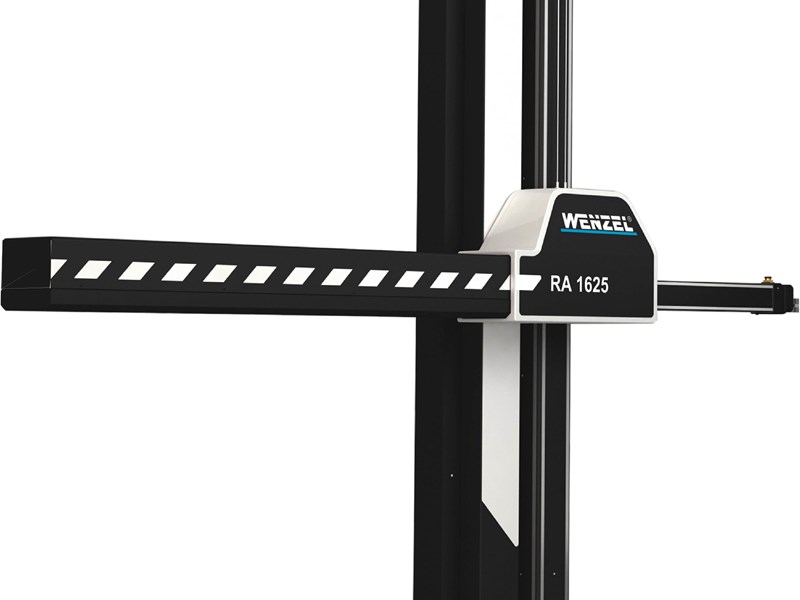
Wenzel RA Horizontal Arm Coordinate Measuring Machine
Price: Contact Us
Retail Price: N/A
Your Savings: N/A
The floor-level base on which the guide systems are mounted are characteristic for the Wenzel RA horizontal arm CMM series. This design allows easy and quick equipping from heavy components up to complete vehicles. Whether as a single unit or as a complex multi system, the RA CMM provides the required results accurately, reliably and fast.
- Clearing the way for precise results - Whether it is used as single unit, as a duplex version or as a complete measurement concept with integrated under-floor measuring machines, the CMMs of the RA series prove themselves due to their easy accessibility for work pieces and assemblies which are difficult to handle.
- Floor level access from all sides - The floor-level base plate and the enclosed guide ways allow quick loading and easy positioning of the work pieces. The unit is accessible in a barrier-free way.
- Proven technology for precise results - The combination of linear guides and roller bearings provide friction and form-fitted transmission. This provides an optimized ratio of movement and precision.
- Competence begins with planning - RA measuring machines are used by many customers worldwide in stand-alone mode as well as in complex multi systems. We are happy to assist you by sharing our experience and knowledge to build complete measuring rooms starting with planning the foundations.
- High system efficiency - Our modular and continuous controllers, bearings, drive systems and specially protected components ensure a long lifetime of the system even under high stress.
- Varied applications and expansion capabilities - Easy accessibility makes RA an ideal system for work pieces and assemblies which are difficult to handle. Through its modular design, the systems can be easily extended and upgraded to the latest software and hardware version.
- Ergonomics in operation and equipping - The user-optimized design of the RA series ,such as mobile control units and its security options, make the system a user-friendly and work safe equipment.
- A motorised indexing head that mounts and re-orientates the probe repeatably to any one of 720 positions at 7.5° increments
- PH20 brings 5-axis measurement capability to touch-trigger applications on all sizes of CMM
- The revolutionary 5-axis probe system provides an extremely fast scanning speed solution with a high degree of measurement flexibility, and thus an extremely high throughput.
- Compact, module changing touch-trigger probe, which allows the use of a range of stylus configurations and extensions to access features on complex parts.
- Compact, module changing touch trigger probe particularly suitable for measuring tasks with tight dimensional tolerances for 3D free-form surfaces with longer styli.
- The most compact and versatile probe system for scanning on a global scale.
-
Passive probe, equipped with a high-resolution digital length measuring system (0.02 μm), which ensures outstanding measuring precision even when using long stylus inserts (up to 500 mm).
-
The 3D Line Scanner changes your coordinate measuring machine into the ideal machine to record and handle point clouds. Perfect for all who need to record and work on surfaces and outlines of physical objects.
- Unique, user-friendly UI
- 3D CAD Import – IGES, STEP & DXF
- Catia, SolidWorks, ProE, Parasolids & Unigraphics optional modules
- Inspection program creation from CAD model
- CMM and Renishaw probe simulation
- Object based programming
- Automatic routines
- Many reporting options
- Intuitive UI, consistent with Microsoft Windows
- 3D CAD Import – IGES, STEP, VDA-FS, Parasolid, ACIS & DXF
- Inspection program creation from CAD model
- Simulation, Verification & Optimization
- Object based automatic measuring
- Automatic routines
- Support for CT and optical scanners
- Many reporting options
Measurement Ranges, Weights
- X-Axis Measurement Range: 2000mm to 40,000mm
- Y-Axis Measurement Range: 1600mm to 3800mm (Additional Y ranges available upon request)
- Z-Axis Measurement Range: 1200mm to 3000mm (Additional Z ranges available upon request)
What are some other Features/Benefits?
- The best price/performance ratio on the market
- All models are available in standard and premium accuracy configurations.
- Use a carbon fiber quill for decreased weight (less column droop) and higher stiffness.
- Larger quill sections and greater protection for clay milling applications
- Can be equipped with Renishaw probes PH10 or PHS heads and the Wenzel Phoenix II Optical sensor for even higher productivity or the Wenzel Shapetracer laser scanner.
Our philosophy when it comes a coordinate measuring machine is to eliminate as many avenues of inaccuracy as possible – before any measuring happens. Because we start with the intrinsic-accuracy of granite in each piece of metrology equipment we manufacture, your coordinate measuring machine then high accuracy built in. Starting with the most mechanically accurate structure for coordinate measuring means less error mapping to compensate for less than ideal materials.